General Notes - Updated 8 March 2014 for Mavericks[]
I've updated this guide to help anybody trying to develop Magic Lantern on the Mac, the guide was previously far out of date, and caused myself and others (judging from the forums) much frustration. I use a 2011 MacBook Pro running 10.9.1 Mavericks. This page will help anybody set everything up from scratch. I will first cover how to install the ARM toolchain (to compile magic lantern)
My setup:
- Macbook Pro
- Mac OS X Mavericks 10.9.1
- 2.2 GHz Intel Core i7
- 8gb memory
- GCC-ARM Embedded 4-8-2013q4
- Xcode 5
- MacHg
Installing Developer Tools[]
First step is to install the latest version of Xcode developer tools (currently Xcode 5) available in the App store.
ARM Toolchain Setup[]
The current ARM toolchain is available from here. At the time of this writing the latest version is right here.
Unzip the toolchain file and place the resulting folder in your home folder, wherever you would like to collect your development files, such as ~/Code/ (Note for people new to this stuff, ~/ always refers to your home folder on the filesystem.) Leave the folder named the way it is from when you unzipped it. File should look like this:
~/Code/gcc-arm-none-eabi-4_8-2013q4/
Installing Utilities[]
Now, open up a terminal (usually hidden away in your applications/utilities or /other folder)
We're going to install a program called Homebrew, which allows you to install and use common linux programs.
Now type the following into that terminal window:
ruby -e "$(curl -fsSL https://raw.github.com/mxcl/homebrew/go/install)"ruby -e "$(curl -fsSL https://raw.githubusercontent.com/Homebrew/install/master/install)" brew doctor brew update brew install coreutils brew install hg
As long as each command completes succesfully, you should be ready to grab the magic-lantern code!
EDIT: Could not find truncate, so had to run:
ln -s /usr/local/bin/gtruncate /usr/local/bin/truncate
Also, could not find rst2html.py, so had to run the many following commands:
brew install libjpeg
sudo easy_install --upgrade pip
sudo pip install --upgrade pdfrw
sudo pip install --upgrade Pygments
pip install --upgrade reportlab
note: In OS X 10.10.1 I had to create the link:
ln -s /Applications/Xcode.app/Contents/Developer/Platforms/MacOSX.platform/Developer/SDKs/MacOSX10.10.sdk/System/Library/Frameworks/Tk.framework/Versions/8.5/Headers/X11/usr/local/include/X11
And then download the reportlab source from here , and finally just build it from source with this command from the reportlab source folder:
sudo python setup.py install
pip install --allow-unverified PIL PIL
sudo pip install -U rst2pdf
sudo pip install -U rst2html5
Setting up MacHg and Downloading Magic Lantern Source[]
Now that the compiler and arm-toolchain are all setup and working, it's time to download the magic lantern code and try to compile it. I like to use a program called MacHg, which you can download for free here. After the download is complete and you've installed it (move it to Applications), open it so we can setup the magic lantern repository.
- On opening MacHg, select "Clone a Repository"
- Short Name: Anything you want, such as "magic-lantern"
- Server URL: https://bitbucket.org/hudson/magic-lantern
- User name and password are not needed, now click "Add and Clone"
- EDIT: If using MacHg 1.0.2, do steps A-D (this will clone the correct "unified" branch).
- A. Check "Show Advanced Options"
- B. Check "Clone only Revision, Tag or Branch"
- C. Type "unified" in the text box
- D. Click "Clone Repository"
- After it's finished downloading, you need to click the "Pull" button in the top menu.
- Click the "advanced options" dropdown, check "Pull up to specific branch" and type in "unified"
- Also check "Update after Pull"
EDIT: I had to run "hg update tip"
Next step is to edit the makefile.
Editing the Makefile[]
Before we can compile we must edit the make file to point at our binaries in the correct locations. Create a new blank file in the magic-lantern directory that you just downloaded called "Makefile.user"
Paste the following into the new file:
ARM_PATH=~/Code/gcc-arm-none-eabi-4_8-2013q4
ARM_BINPATH=$(ARM_PATH)/bin
GCC_VERSION=4.8.3
CC=$(ARM_BINPATH)/arm-none-eabi-gcc-4.8.3
OBJCOPY=$(ARM_BINPATH)/arm-none-eabi-objcopy
AR=$(ARM_BINPATH)/arm-none-eabi-ar
RANLIB=$(ARM_BINPATH)/arm-none-eabi-ranlib
HOST_CC=gcc
HOST_CFLAGS=-O3 -W -Wall
CONFIG_TCC          = y
CONFIG_MODULES      = y
PYTHON=python
Make sure the ARM_PATH variable points to wherever you downloaded the ARM toolchain to.
Compiling Magic Lantern[]
Now that everything is all setup, it's time to see if it compiles. Open up a terminal and cd to the directory you have the repository at on your computer. Then, run:
make clean
followed by
make
An alternative is to run make for a specific camera, for example for my 6D it's
make 6D
Look in the platform/ directory for available builds. Leave off the trailing numbers when running make. It should go through and compile everything (it will take a minute or two depending on your computer). There will be lots of warnings, don't worry, it's fine. If you get an error, look back and see where the first error occured at, it will tell you the file to check and the line number the problem is at. It should compile fine, but if you have any odd issues try checking the magic lantern forums for help.
Your new autoexec.bin will be located in platform/(camera)/autoexec.bin. You can paste this into the root folder of your SD card to try it out.
If you want to compile the modules, the following command will compile and install them to your card (make sure your card is in the computer)
cd modules/ && make clean && make && make install
So that covers setting up the compiler and arm-toolchain, and compiling magic lantern. Now, if you choose to, you can setup the arm-console for firmware analysis (lots of cool scripts thanks to A1ex).
Setting up the ARM-console **Old information below**[]
Ah.. now the fun part, and the part that will take the longest. Set aside a good 3-4 hours for this to finish. Follow these steps and you'll be using the console in no time.
Setting up MacPorts[]
******* NOTE: If on OS X 10.7 (Lion) or later, please see the note at the bottom of this page for the required fix. ******* This is what we will use to install the many components we need. Think of it as an equivilant of apt-get for mac. You can download MacPorts here. Setup is easy, just follow the installer. After the installation is complete, be sure to update MacPorts with the following commands (before installing anything always run this):
sudo port selfupdate

sudo port upgrade installed
Once this is done, it's time to start installing what we need.
Prerequisites[]
Run the following commands in this order, they will take a while dependning on how many dependencies are being installed too. Just wait it out and be patient, it could take several hours.
sudo port install python26 sudo port select python python26 <--this tells os x to use our python 2.6 we just installed sudo port install py26-wxpython py26-numpy py26-matplotlib sudo port install py26-scipypy26-ipython<-- ***see note about ipython below***sudo port select ipython ipython26 <--tells os x to use ipython 2.6sudo port install py26-pygraphviz sudo port install py26-sympy sudo port install py26-pydot
Note: As of now (2012), the default install of ipython from macports is version 0.12, which is NOT compatible with the arm-console. The work around is to install v0.10, and everything will work fine. Instead of using macports, download the ipython 0.10 source from here: http://pypi.python.org/pypi/ipython/0.10
Then simply unzip the tar and run this in the ipython directory:
sudo python setup.py install
and ipython 0.10 will be all installed and working.
Now we'll test matplotlib to make sure ipython and everything is setup correctly. But first we need to do one quick fix for matplotlib.
Create a new text file named matplotlibrc (no extension, make sure it's plain text too) and put this in it:
backend : WXAgg # Use wxpython as the plotting backend.
Save it here, make the .matplotlib directory if needed.
~/.matplotlib/matplotlibrc
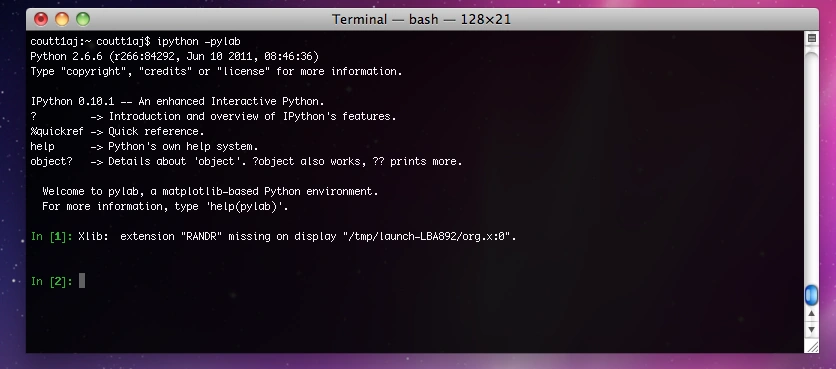
Now we are ready to test things out. Open up a new terminal and run:
ipython -pylab
If everything is well, you should see this:
ipython running. The error about "RANDR" is nothing to worry about.
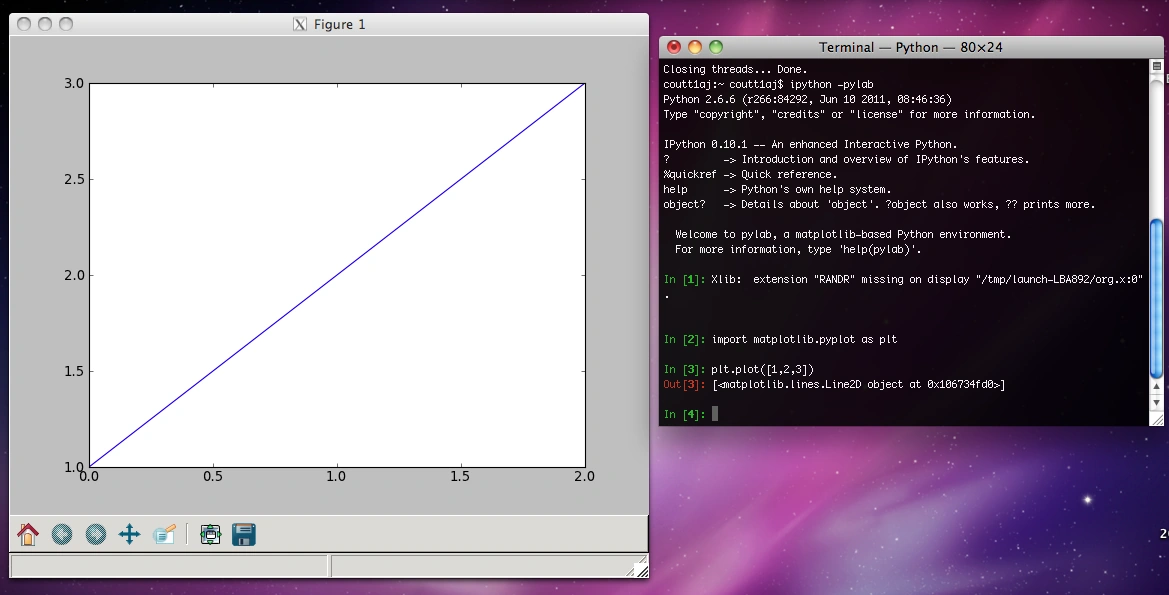
Now run these commands to do a test plot.
import matplotlib.pyplot as plt
plt.plot([1,2,3])
plt.show() <-- only if the plot doesn't automatically show after the previous command
If everything is working, you should see this:
test plot with matplotlib, just making sure things are working correctly.
Now, we need to finish installing the prerequisits for the ARM-console. Here's what needs to be installed. I've provided links to the ones that will need to be manually installed. The install is easy for those, just download the module, and run this on each of them:
sudo python setup.py install
Here is what you will need to install manually:
Obtaining the ARM-console[]
You can obtain the console from A1ex's github repository here. After you download the files, put them all in a folder (I named mine ARM-console). We have to make a couple small changes to the disassembler script since our toolchain is none-eabi and not elf.
Open scripts/disassm.py and go to line 24:
23: gui_enabled = False
24: armelf = "arm-elf-"
25: objcopy = armelf + "objcopy"
26: objdump = armelf + "objdump"
Change to:
23: gui_enabled = False
24: armelf = "arm-none-eabi-"
25: objcopy = armelf + "objcopy"
26: objdump = armelf + "objdump"
And at line 1067:
1067: os.system("arm-elf-as test.asm -o test.elf")
1068: os.system("arm-elf-objcopy -O binary test.elf test-0xff000000.bin")
Change to:
1067: os.system("arm-none-eabi-as test.asm -o test.elf")
1068: os.system("arm-none-eabi-objcopy -O binary test.elf test-0xff000000.bin")
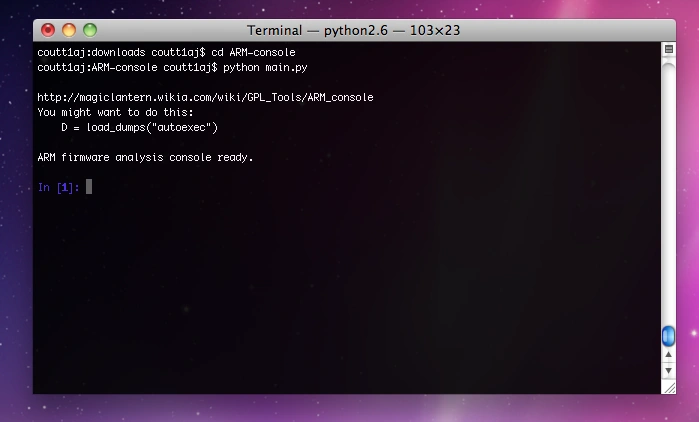
That should take care of all of the required setup. To use the console, open a new terminal and cd to the console directory and run:
python main.py
You should see this if everything is installed and working:
the console running after setting everything up.
Now you can follow A1ex's guide here to learn what you can do with the console.
In the words of AJ, happy hacking :)
*****************************************************************************************************************************
*****************************************************************************************************************************
Mac OS X 10.7 Lion Compatibility[]
In OS X Lion, a new version of xcode has been released, and a couple extra steps must be taken to make things work.
First, instead of downloading Xcode 3, download Xcode 4 from here (must sign in with your apple id): https://developer.apple.com/xcode/
After it is installed, you must download the development tools (gcc compiler, etc). To do this, go to the Downloads tab of the Xcode preferences, and click the install button next to Command Line Tools.
Now you will be all set to install macports and continue with the install normlly. Hope this helps!
- Coutts